Wildlife photography is an art form that has stumped many, and for good reason. It’s a game of trial and tribulation, and the ratio of failures to successes can be overwhelming. Here I’d like to illustrate this point with a series of ugly, blurry photos and some basic math, and offer some simple tips for those interested in taking better wildlife photos.
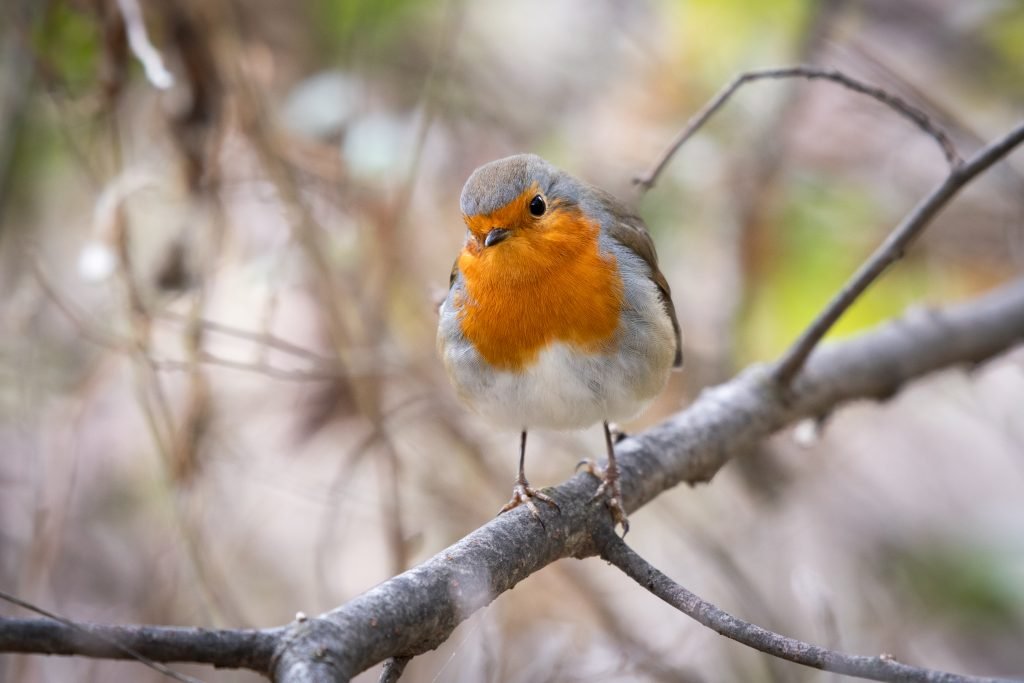
European Robin (Erithacus rubecula)
On every pro’s gallery, you see a plethora of incredible, crisp wildlife photos. These leave many people, especially beginning wildlife photographers wondering how it was possible to achieve such awesomeness. After all, all you’ve been getting are distant shots of indistinguishable songbirds flying away from you. What you don’t see is how many times they failed to get that razor sharp image, or even how many trips they had to take to make it possible. For this article, I’ll start with some failures of mine.
The other day I went out to photograph some birds near my house, and I spotted a long-tailed tit (Aegithalos caudatus). It took me 42 tries over the course of an hour and a half to nail one halfway decent shot of this little guy. By my calculation, that’s a 2.4% keeper rate. Below are some of the ugly ones.
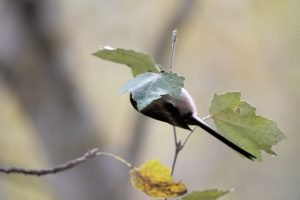

All but one of my shots of the long-tailed tit were like this, and these are some of the less bad ones. The bottom right could have been good had the bird not been looking straight into the air. Which leads my to my first tip.
Tip 1: Don’t stop shooting until you see the eye
Once that bird lands on a good perch, you’re not done. Make dead certain that he/she has looked at you, and you’ve got a clear view of the eye. Ideally, there will be catch light in the eye to really bring the image to life. In dense canopies, it is often necessary to use fill flash to get that catch light.
When you have a good shot, I say fire away as much as possible as to capture as many different positions and behaviors as you can. You can always delete the junk later!
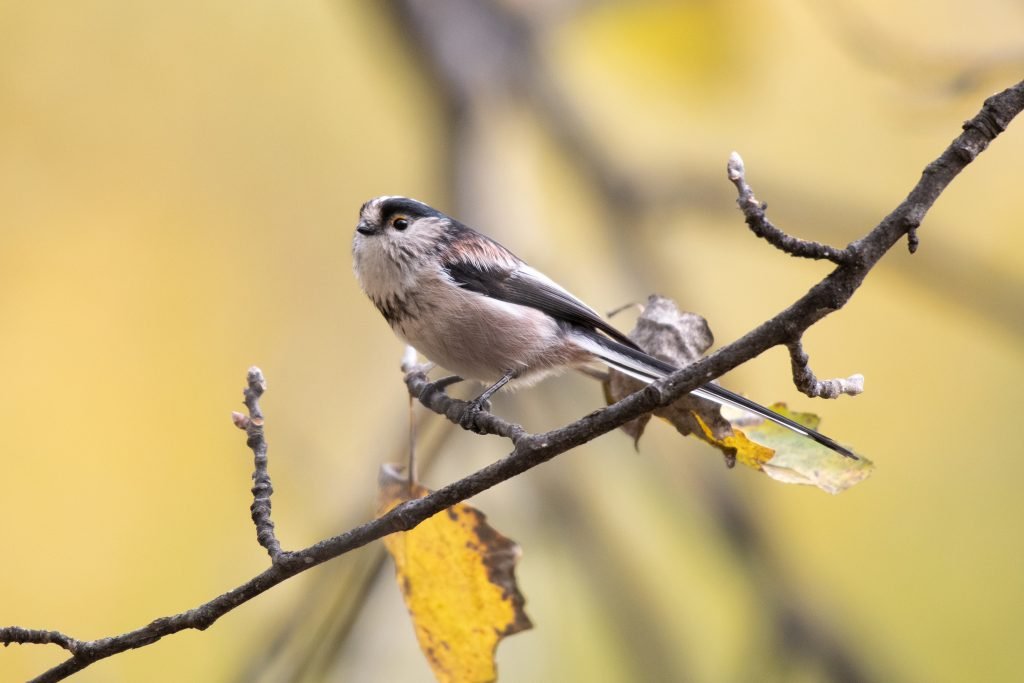
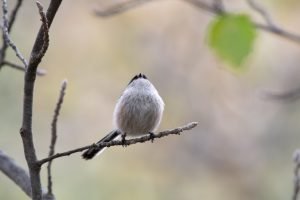
Here is the best shot of the outing. It isn’t an award-winning photograph by any means, but after an hour and a half of chasing this guy around, I’m pretty happy about it!
The point here is that wildlife photography takes persistence, and you shouldn’t get discouraged if you don’t get the image you’re after on the first try, or even 40th try.
Tip 2: Change Your Outlook
What makes a great wildlife photograph? Is it a portrait where the animal is front and center in full detail? I say not necessarily! Many people make these types of shots their main objective, and for good reason. Shots like this usually look awesome!
With that said, I sometimes prefer images where the animal is a part of the landscape and some details are left to the imagination. If done well, these types of photographs tell a story, which to me is one of the main purposes of photography.
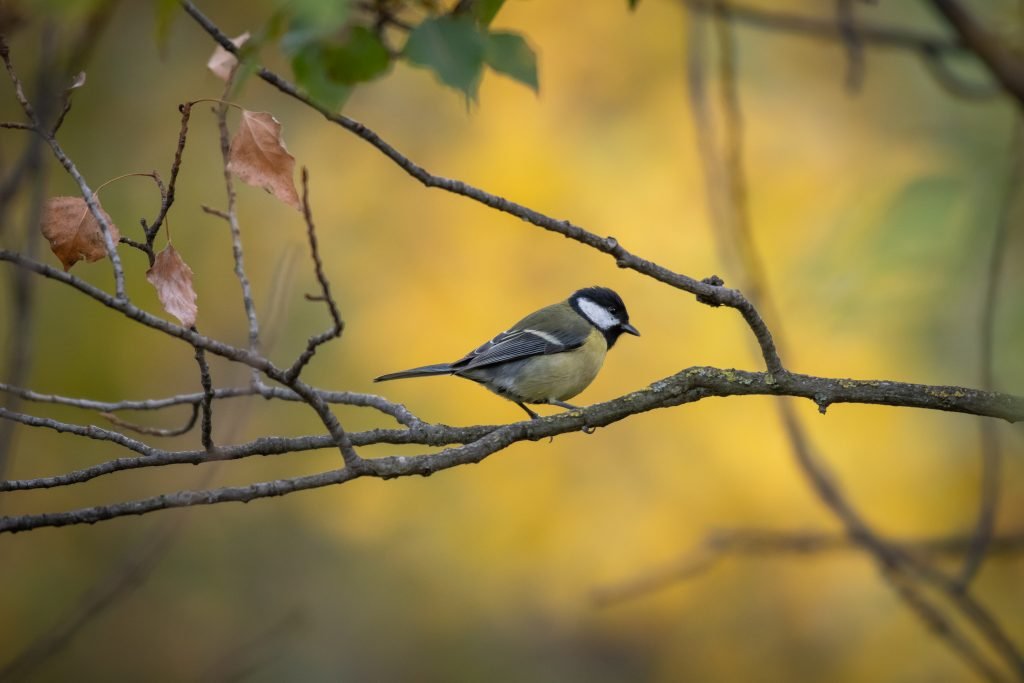
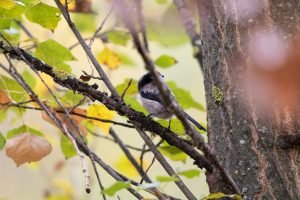
In this photo, I was admittedly going for an isolated close-up of this great tit (Parus major), but this was as close as I managed to get before he took flight. In the end, I think this image is much more powerful, as the bird is framed by the withered branches with a splash of autumn color in the background. I feel it brings the imagination of the viewer much deeper into the world of this bird than a portrait would have.
The lesson here is that you will open up a world of photographic possibilities when you let go of the need for isolated portraits. Next time you’re out shooting, I encourage you to try some creative compositions with more distant subjects!
Tip 3: Know Your Subject
I’m not saying you have to go learn every scientific detail of every animal you photograph. What I am suggesting is that you spend time in the areas where you shoot just observing the species in the area and their typical behavior, and you don’t have to be a biologist to do this. I would recommend trying without bringing your gear. It’s amazing how much you learn when your eyes aren’t glued to your camera!
The goal is to know them well enough that when you go to shoot, you can better predict how they are going to move, how they will react to you being there, and what kinds of behaviors you might be able to capture. This practice can help to eliminate some of the guesswork, and allow you to create more interesting images when you actually go out shooting.
Wildlife photography takes persistence, and even seasoned pros might go out and have a 2.4% success rate or lower. This is no reason to get discouraged, because if it was easy, it wouldn’t be fun! I hope these three tips will help you raise that keeper rate next time you go out to photograph wildlife!